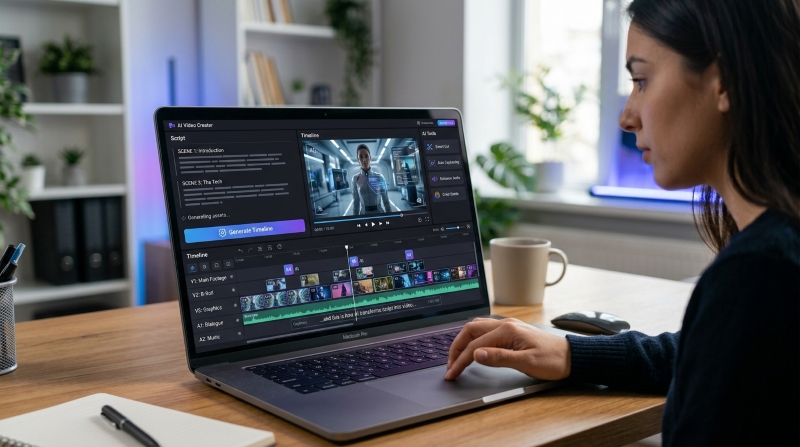
Creating a video can seem complicated when you think about everything involved. You need an idea, a script, visuals, audio, captions, and an editing plan. For beginners, the number of steps can make video creation workflow feel more difficult than it actually is.
The good news is that you do not need to approach video creation as one huge task. Breaking the process into smaller stages can make it much easier to manage. With the help of modern digital tools, creators can move from a simple idea to a finished video through a clear and repeatable video creation workflow.
Whether you are making educational content, short social media videos, product demonstrations, or personal projects, the following process can help you organize your work.
Table of Contents
Every useful video starts with a clear purpose. Before writing a script or opening an editing application, decide what you want the viewer to learn, understand, or do after watching the video. This first step gives your video creation workflow a clear direction.
For example, instead of starting with a broad idea such as “technology,” choose something more specific:
A focused topic makes every later step easier. It also helps prevent the final video from becoming too long or confusing.
The same subject can require completely different presentations depending on the audience. A tutorial for beginners should use simple language and explain unfamiliar terms. A video for experienced users can move faster and include more technical information.
Ask yourself a few basic questions:
These questions can help you choose the right length, language, examples, and presentation style before production begins. Using an AI presentation maker can also help streamline the process and turn your ideas into a well-structured presentation.
You do not always need a long script. For many videos, a short structure is enough. A useful format is:
For example, a tutorial about improving smartphone photography could begin by identifying a common problem, explain three practical techniques, demonstrate one of them, and finish with a short summary.
AI writing assistants can also help the video creation workflow by brainstorming ideas, organizing information, or creating an initial script. However, the creator should review and edit the result so that the final script sounds natural and matches the intended audience.
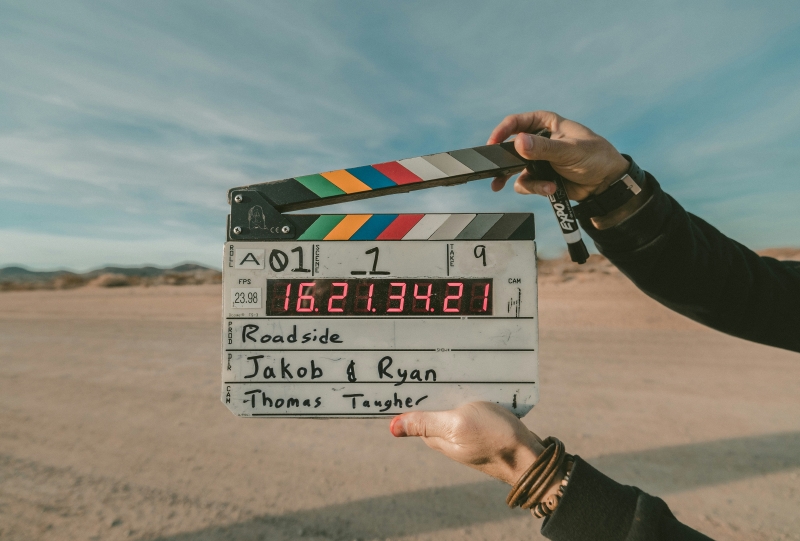
Once the script is ready, divide it into smaller visual sections. Each scene should communicate one main point. This makes the editing process easier because you know what footage, images, screen recordings, or graphics are needed.
For example:
| Script Section | Possible Visual |
| Introduction | Presenter or title screen |
| First tip | Demonstration footage |
| Second tip | Screen recording |
| Example | Before-and-after comparison |
| Conclusion | Summary graphic |
This simple planning step can prevent a common problem: having a finished voiceover but not enough useful visuals to support it.
Before editing, gather everything you expect to use.
This may include:
Keeping these files organized can save considerable time later. Create folders for different types of material and give important files descriptive names.
For a longer project, you can also separate footage by scene or section. A little organization at the beginning can make the editing stage much smoother.
When editing begins, avoid worrying about special effects immediately. Start by placing the most important elements on the timeline. Arrange the main footage, remove unnecessary sections, and make sure the story flows logically.
At this stage, ask:
A simple and well-organized video is usually more effective than one filled with unnecessary effects.
Good audio can make a major difference in how professional a video feels. Background noise, inconsistent volume, or unclear speech can distract viewers even when the visuals are strong.
Check the voice recording and remove obvious problems where possible. Make sure background music does not overpower spoken content. If you are recording your own voice, try to use a quiet environment and keep a consistent distance from the microphone. These small steps can make the video creation workflow smoother by reducing audio problems during editing.
Captions can make videos easier to follow, especially when people watch without sound.
Instead of adding large amounts of text, highlight important information. Short phrases, keywords, and captions can help viewers understand the main points without distracting them from the visuals.
Automatic transcription can speed up this process. However, always review generated captions before publishing. Names, technical terms, accents, and unusual phrases can sometimes be transcribed incorrectly.
AI can be useful at different points in a video creation workflow, but it does not need to control every part of production.
For example, creators can use AI assistance to:
Creators interested in combining AI assistance with video editing can also explore a ChatGPT video editor free workflow to see how AI-supported features can fit into a practical production process.
The important thing is to use these features when they solve a real problem. Adding AI simply because it is available does not automatically make a video better.
Transitions can connect different scenes, but they should support the content rather than become the main attraction.
Simple cuts, fades, and occasional movement effects are often enough. Too many dramatic transitions can make educational, business, or tutorial videos difficult to watch.
Think about why a transition is being used. If it helps move the viewer from one idea to another, it has a purpose. If it only adds visual noise, it may be better to remove it.
Never assume that you have a finished video immediately after the editing timeline is complete. Watch the entire video from beginning to end. Look for small problems that may not be obvious while editing individual sections.
Check the following:
It can also help to watch the video on a different device. A video that looks good on a large monitor may have text that is difficult to read on a smartphone.
A single video may eventually be used on several platforms. However, the same format does not always work everywhere. A long educational video might be suitable for YouTube, while a shorter vertical version could work better for short-form social media.
Instead of creating completely separate projects, you can build a video creation workflow around the original video so that useful sections can later be adapted into shorter clips.
For example, a 10-minute tutorial might produce:
This approach can help creators get more value from the same production work.
Beginners sometimes spend too much time adjusting small visual details before the main story is finished. A clear video creation workflow can help by keeping the focus on structure and content first. Complete the basic structure before polishing the details. You can improve visual elements during the final editing stages.
Viewers usually want to understand the purpose of a video quickly. Avoid spending a large portion of the video explaining what you are about to explain. Get to the useful information as soon as possible.
Effects should support the content. Excessive animations, transitions, and sounds can make a video harder to follow.
A video with average visuals and clear audio can still be enjoyable. The opposite is often not true. Pay attention to speech clarity and background music levels.
Even experienced editors can miss small errors. Always review the exported video before publishing it.
Once you become comfortable with your video creation workflow, you can turn it into a simple checklist:
Planning
Writing
Production
Editing
Final Review
Following the same basic process for every project can make video creation feel much less overwhelming.
The biggest challenge for many beginners is not the editing software itself. It is trying to make too many decisions at the same time. A structured video creation workflow separates those decisions.
First, decide what the video is about. Then determine what you need to say. After that, choose the visuals and edit them together. Finally, review and improve the finished product.
This approach also makes it easier to identify where you need help. If writing is difficult, use brainstorming assistance. If captions take too long, use automatic transcription. If editing repetitive footage is taking hours, explore automated editing features.
The goal is not to automate everything. The goal is to spend more time on the parts that require your own judgment.
Creating a good video does not have to begin with complicated equipment or an advanced production setup. A clear video creation workflow, idea, simple script, organized visuals, and careful editing can provide a strong foundation.
Modern AI-assisted tools can make individual steps faster, especially when creators need help with planning, captions, repetitive editing, or content variations. But the creator still decides what the video should communicate and how it should feel.
By treating video production as a series of manageable steps, beginners can build a video creation workflow that becomes easier with every project. Over time, the combination of better planning, practical editing skills, and useful technology can turn even a simple idea into a polished video.
Explore our blog for more insights and inspirations.